Image
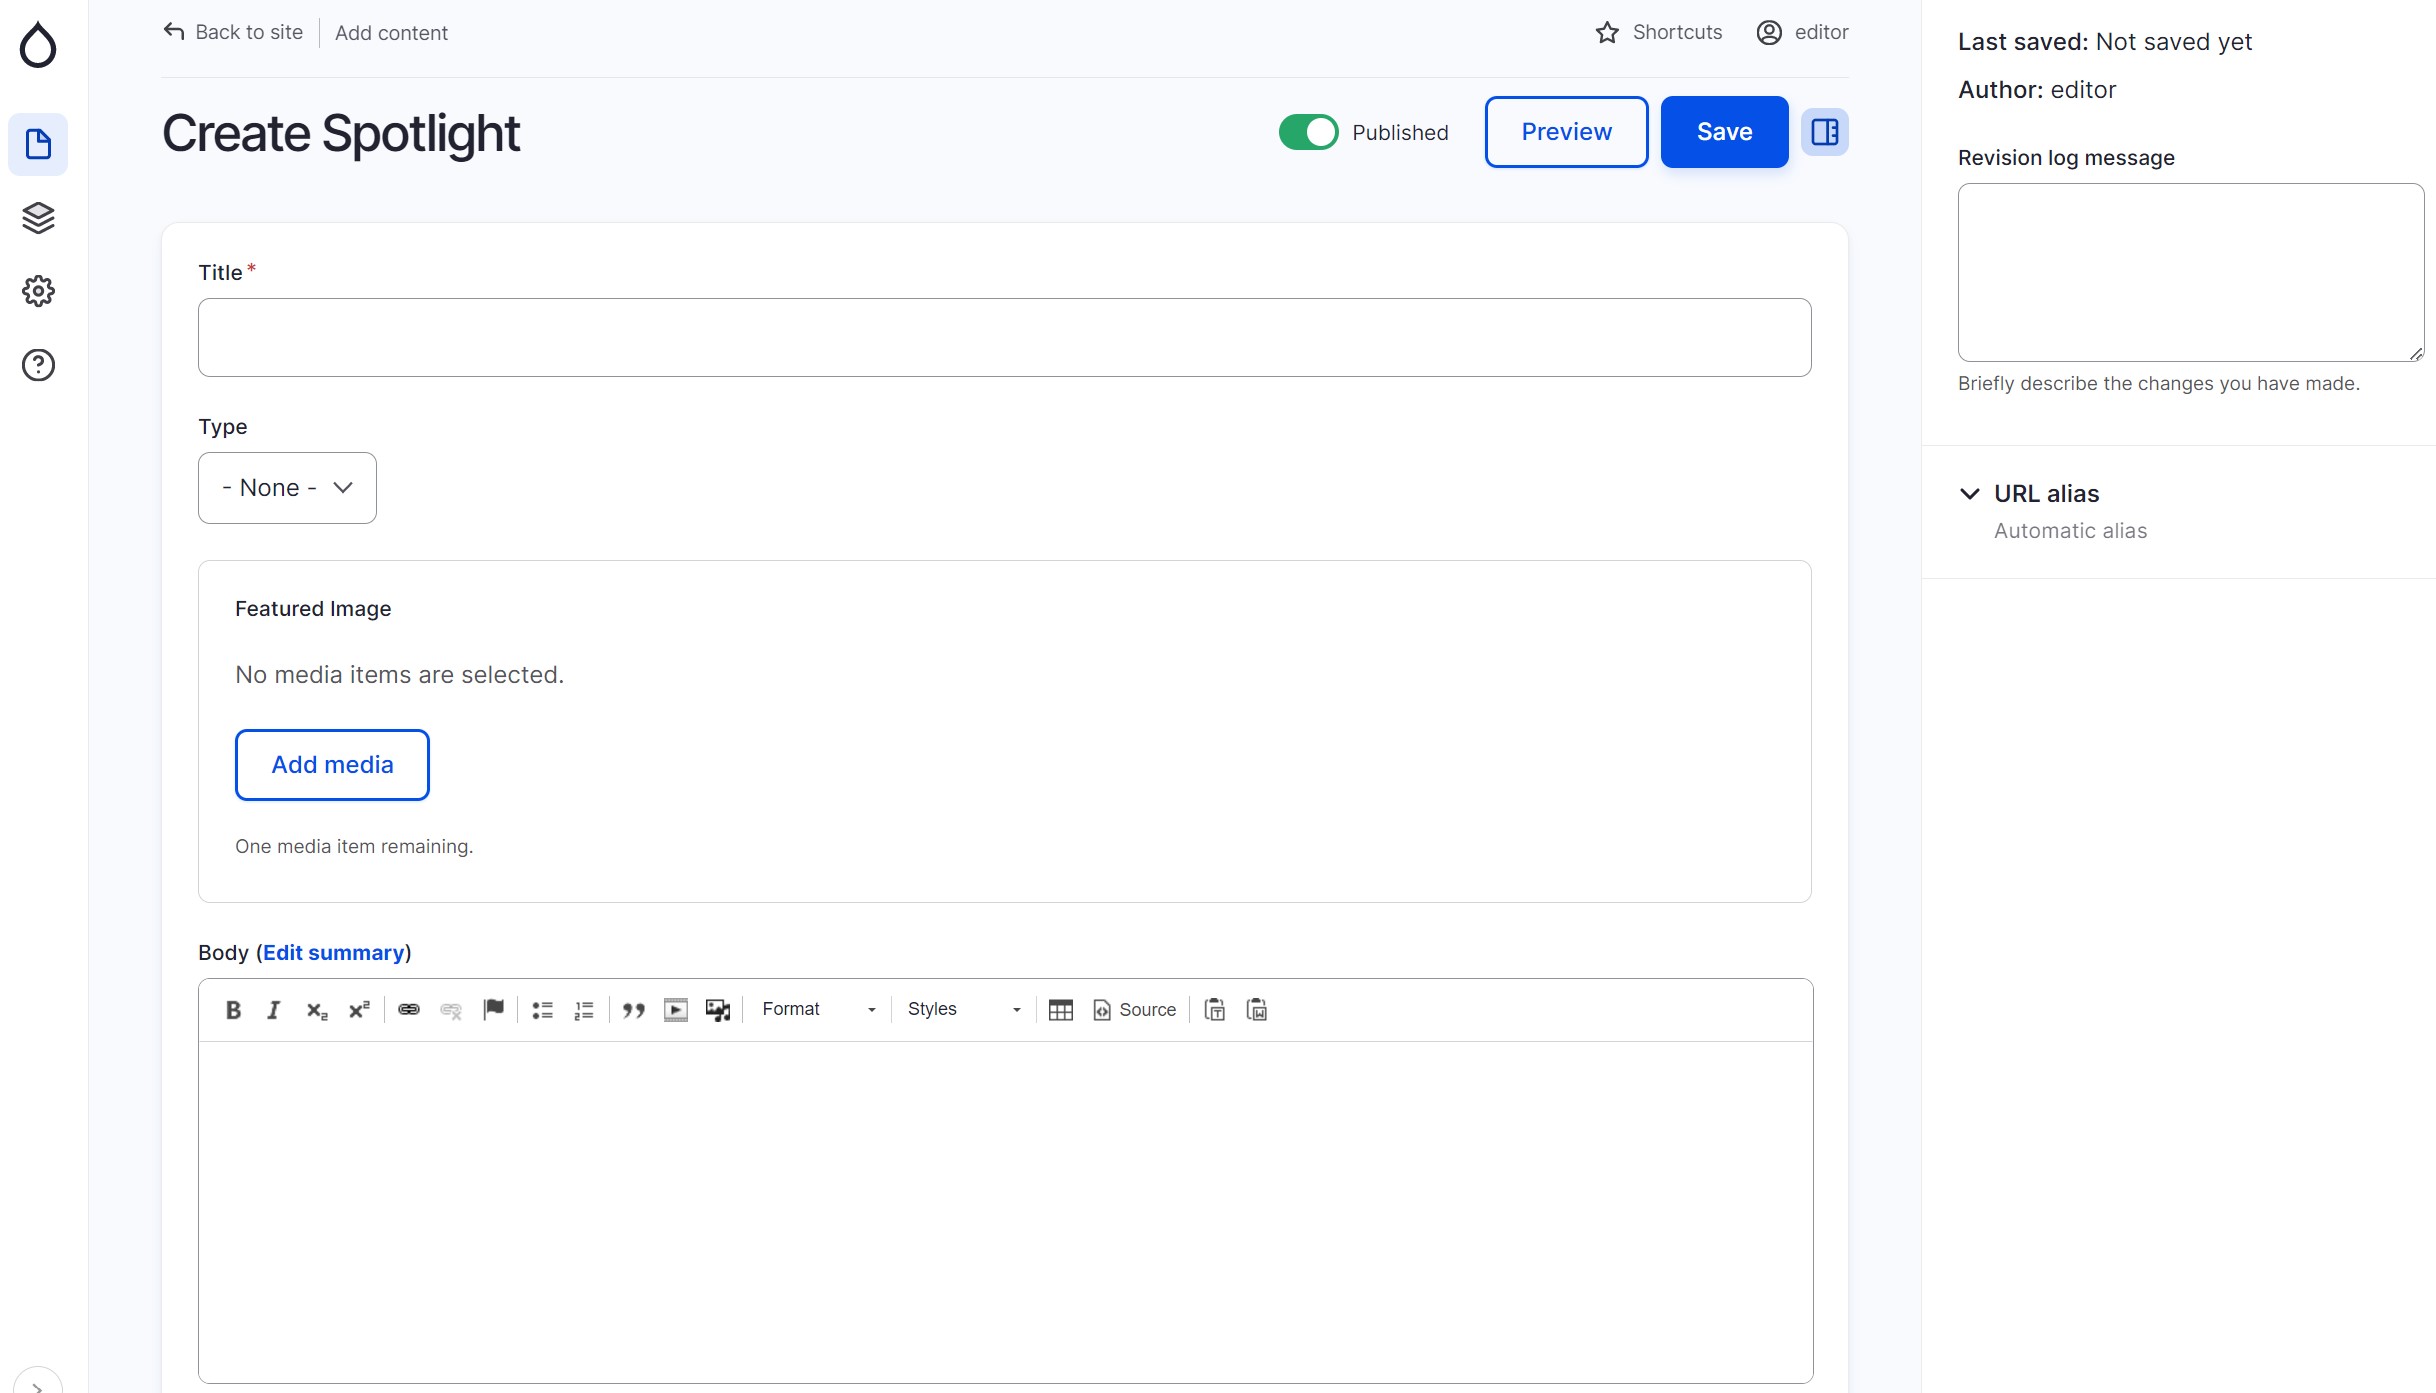
Go to Content > Add Content > Spotlight
Type in a title in the Title field
Select your Spotlight type (if applicable). This field is used to sort and organize spotlights within your site. If you need additional spotlight types, contact your site administrator.
Type or paste your content into the Body field.
Add optional Paragraphs
Upload a Featured Image. This image will display in the upper right-hand corner of your page and will also be used as a thumbnail on blocks and archive pages.
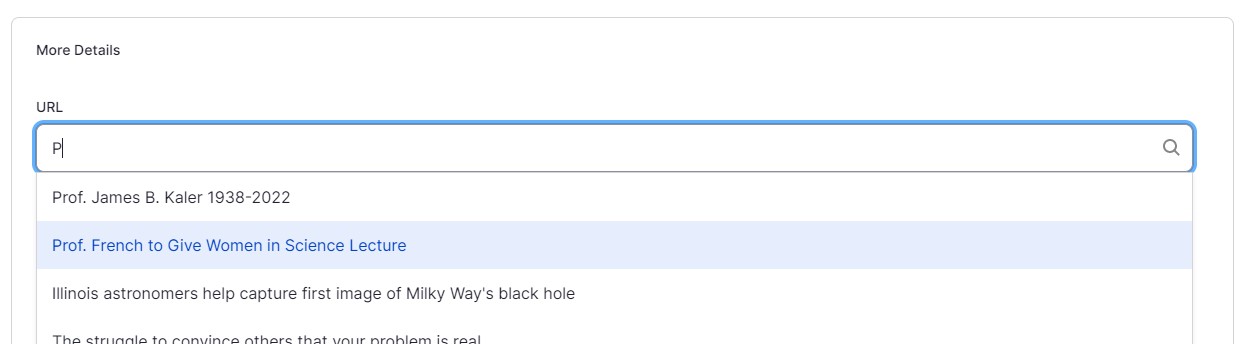
If you would like to link to an external site or an internal page containing more details, type or paste-in your URL into the 'Link' field under 'More Details'. Link text is not required but recommended, especially for long links.
To add a Tag, begin typing in the name of an existing tag in the autocomlete field and select it from the dropdown. If there is not an existing tag for that term, one will be created upon saving.
If your spotlight contains time-sensitive or temporary information, you can set the Effective Dates. This will automatically publish and unpublish your spotlights on the dates you specify. By default the Effective Dates are set to not expire.
Click the ‘Save’ button at the top of the page.

Spotlight Features are added as a Block Reference. Contact your website administrator to set-up a spotlight feature.